Kim Nieves on Facebook
Showing posts with label DIY. Show all posts

Monday, September 24, 2012

D.I.Y. Project: Placemat Clutch Bag
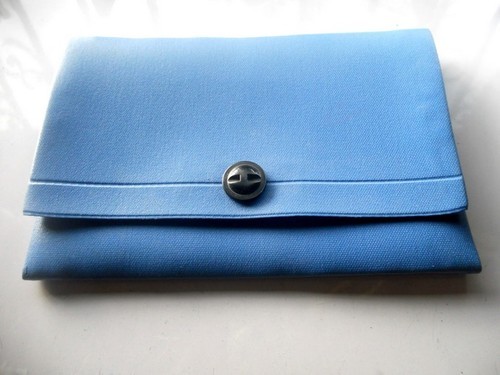
One of the most overused phrases that I love repeating over and over again despite being heard everywhere is: "DREAM BIG!" You see I've always had this immense dream of living a luxurious life. Ambitious as it may sound, I fantasize of waking up in a 7-star sea-side hotel somewhere half-way around the world, being fetched by a Mercedes SLS all the way to the airport to ride a private jet back to my modern-contemporary-designed mansion where I keep several Hermes, Louis Vuitton and Chanel bags! Okay, now snap back to reality... I have only touched a Hermes bag, and consistently drooling to own one when heyday comes. And being still en route to success, I always try to save money the best way I can and "make-do" with what's left - even if it's just a lowly plastic placemat!

D.I.Y. Project: Placemat Clutch Bag


Materials Used:
A Plastic Placemat [we bought for only 24 pesos (USD $0.58) at Bargain Exchange, Robinson's] Velcro straps, Super glue, Decorative button, a Ruler you're not going to use anymore, and something to heat up your ruler (like a Candle and a Lighter)
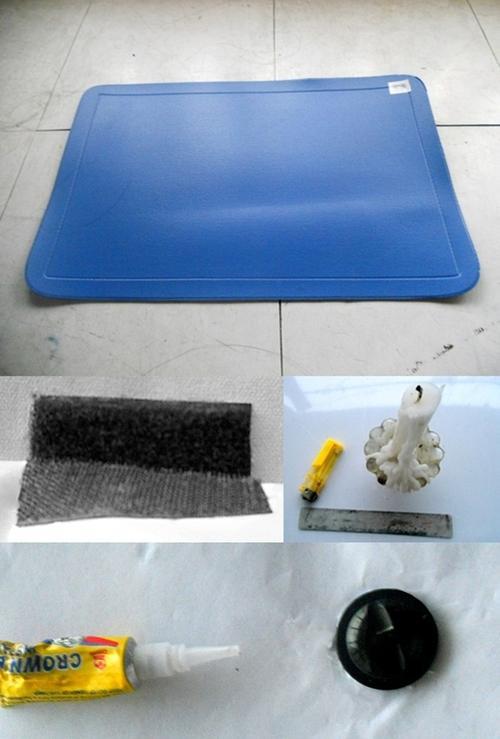

This is how you do it:
1.) Fold the sides of the placemat and secure with superglue:
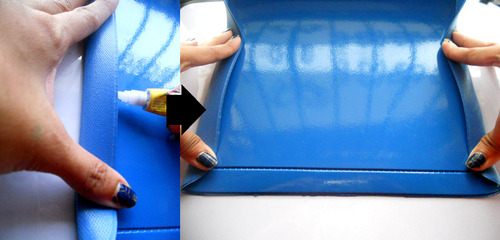
I chose the rougher side of the placemat to be the exposed side as it looks less plasticky.

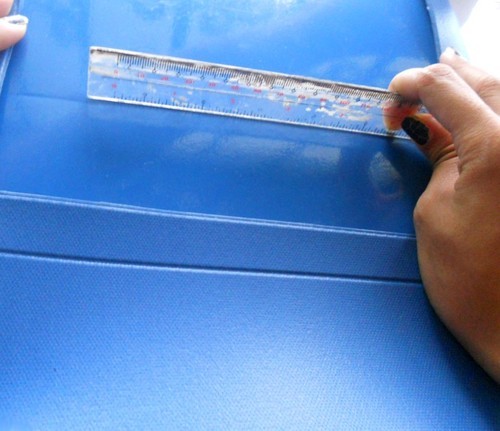
2.) Fold up the placemat 5 inches from the bottom and secure with superglue on the sides. TIP: To fold the placemat with ease, heat the edge of the ruler first and press the heated edge against the placemat. This will create a mark to guide you:
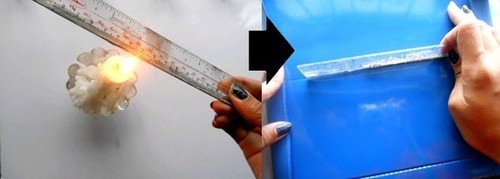
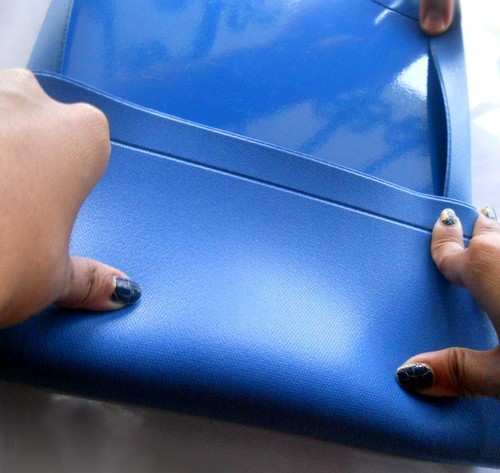
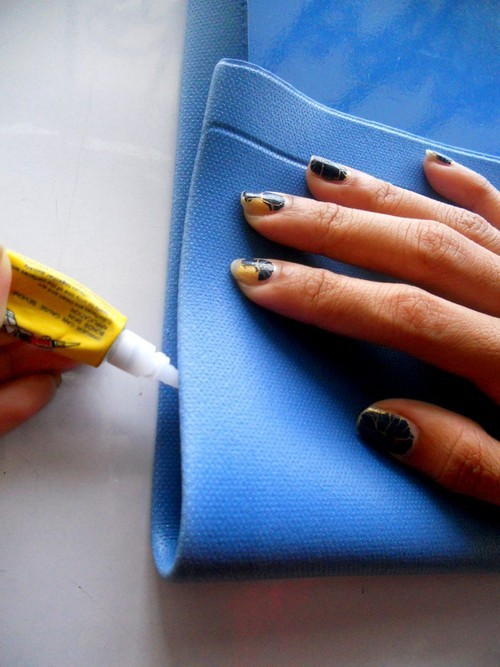
Sorry for the crappy nails, the cracked nail polish was falling off, and I haven't redone my nails yet. It looks like an overly abstract nail art though, don't you think?

3.) Then fold up the placemat 5 inches from the top. This will serve as the flap of the bag. You will need to heat up your ruler again for this:

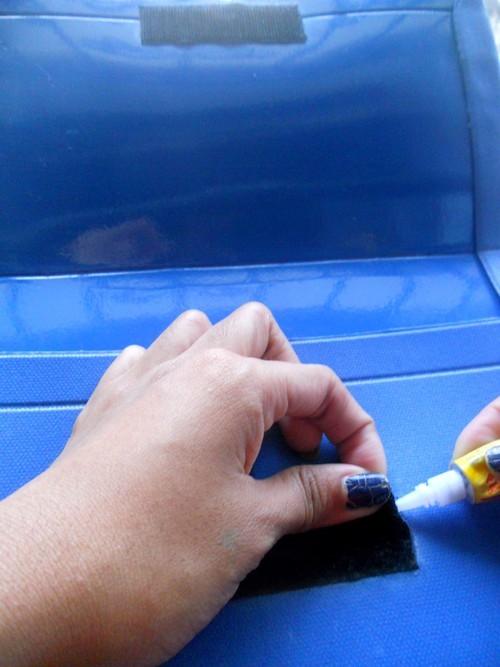
4.) Once the flap is finely folded, it's time to attach the velcro straps. These will be the lock of your bag:

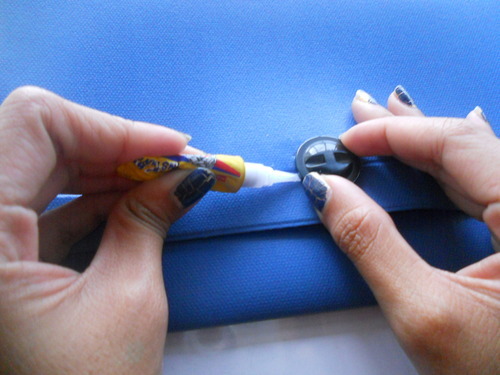
5.) Then glue your decorative button at the bottom of the flap. The button will make the bag look like it has a magnetic snap lock. My personal term for this is: pseudo-lock. Hah!

♥ Congratulations! You've just created your own ENVELOPE CLUTCH! Let's see what could fit in this little bag:
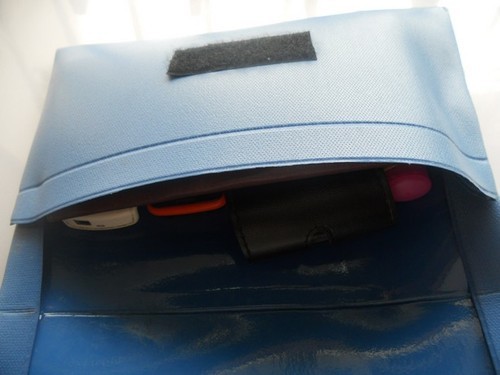

2 phones, a digital camera, a wallet and a cologne bottle... yet this bag still looks pretty slim!
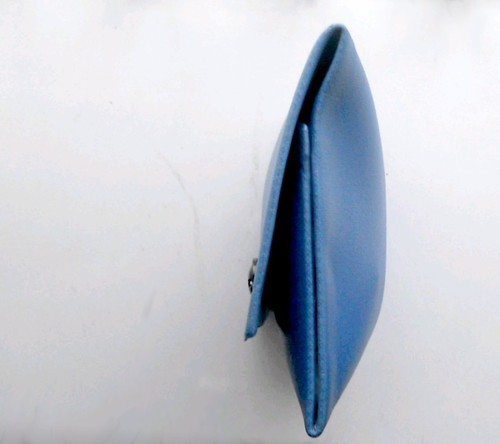

Does this bag look familiar here in my blog? Of course! I've worn this bag a couple of times already!
One. To Day 6 of the Philippine Fashion Week Holiday 2012 last May:
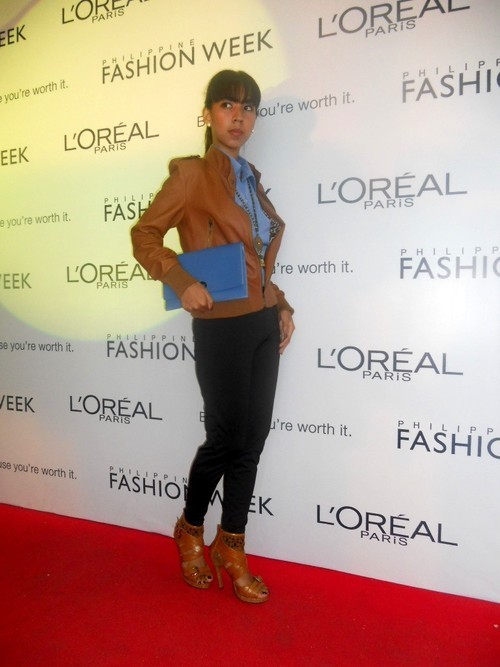
and~
Two. To the Dolan Batang Pinoy Superheroes and Animé 2012:
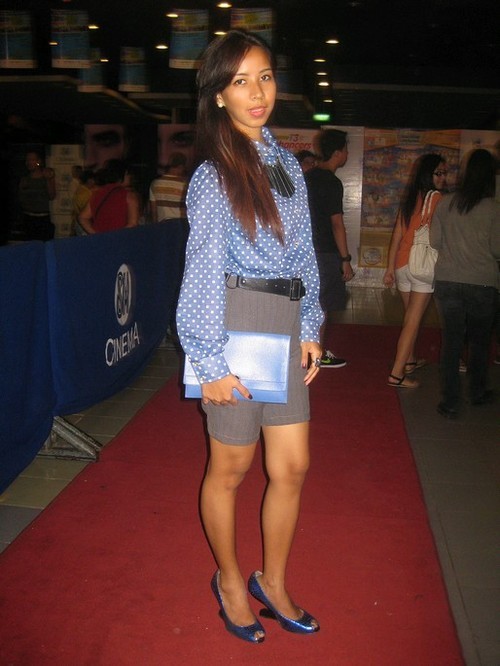
...A bag made from a 24-peso placemat! Bahaha! With a bag this cheap, I can now save lots of dough to buy a Hermes Birkin -a fake one at most. LOL! Just kiddin'. I better stick to my dream of owning original designer bags. Maybe not now, maybe in my 80's? *dunno* Well at least I know in my heart my dreams will come true. *wink!*

Monday, August 27, 2012

An Egyptian Costume for a Friend!

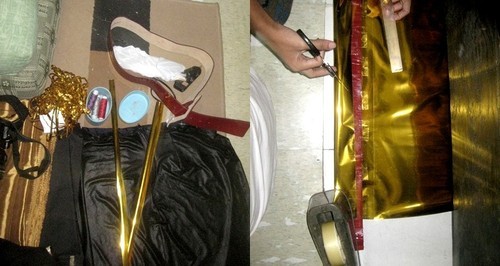
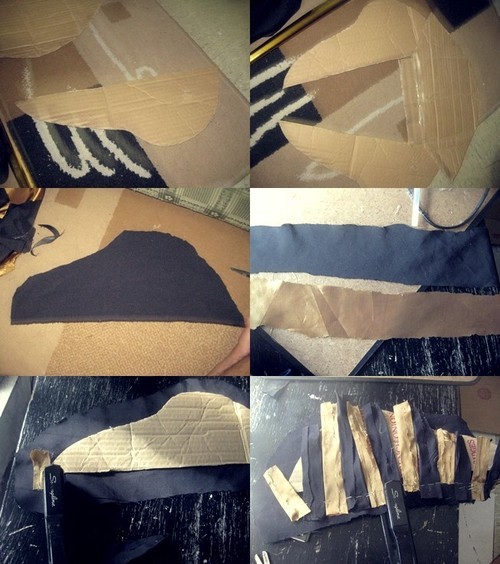
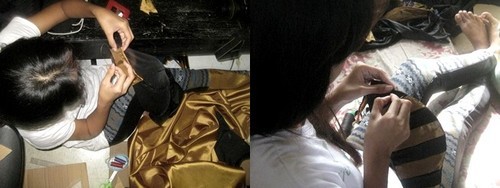
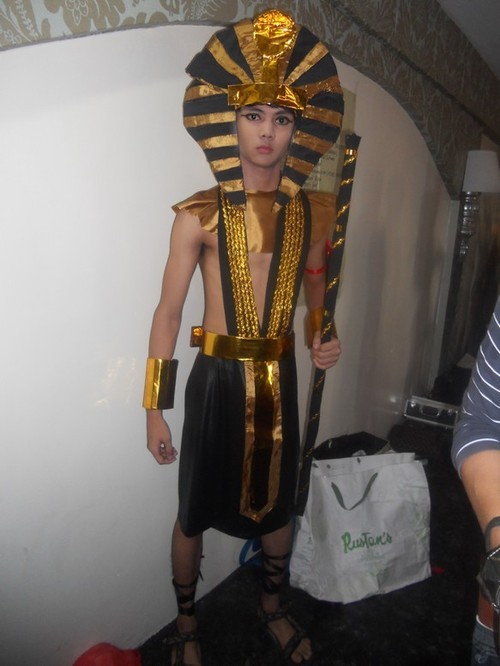
I'm not a designer, I'm not a seamstress, but one thing is for sure: I'm a selfless friend... I find joy in sharing my little blessings with others. I feel blessed whenever I give out. I'm not stingy in giving even my time to people who are dear to me. Maybe because that's the very nature of my work, or that's just who I am. Last week Ashley asked me to make a D.I.Y. Egyptian costume he would be using for the OLFU Mr. & Ms. Tourism 2012. For three (or four?) sleepless days, Anj, Daryll and I created a costume that would fit Ashley's idea of an ancient Egyptian attire. Thank God we were able to finish it before the pageant!

From fabrics to foil, can you believe that we only spent 238 pesos (USD $5.64) for the entire costume?

Making an Egyptian headpiece drained out my right brain!

But it ain't gonna us from night till day!

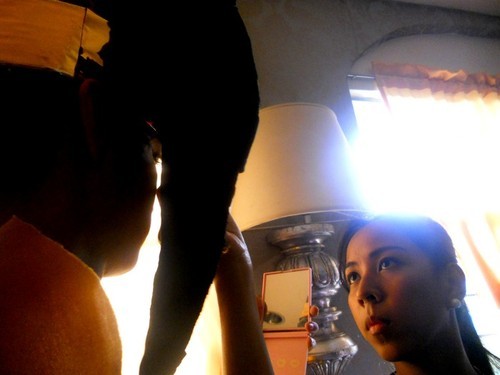
During the pageant, we had to help him wear the costume:

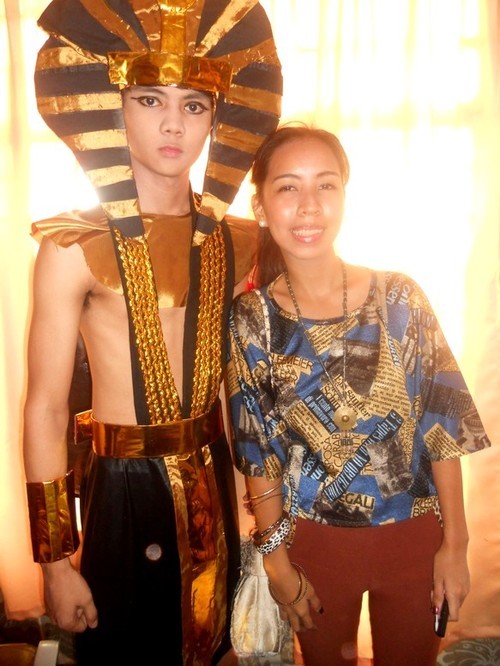
This is the finished product, the sum of our efforts and ideas:

It was all worth the pimples!

Seeing the costume being modeled onstage took away my weariness:
And even if Ash did not win the pageant... the fun, the skills developed and the camaraderie are things that I will never forget!

To Ash, it's okay. Try again next year! Colonel Sanders failed 1,009 times before his home-made chicken became KFC... Keep in mind that, winners never quit, and quitters never win!

Saturday, August 25, 2012

D.I.Y. Project: Yellow Dye!

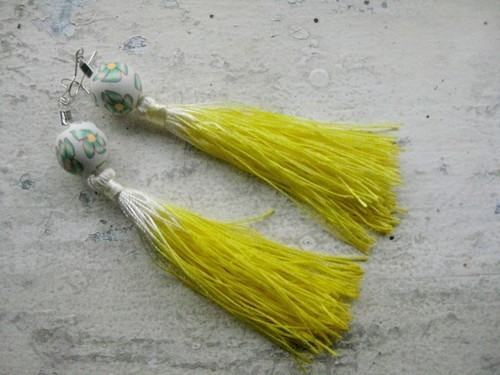
It was an hour before I leave home to watch the premiere night of Lovie Poe's Guni-Guni when I noticed that the white tassel earrings I was going to wear didn't match my skirt. Trying to get ahead of time, I quickly searched for that yellow acrylic paint in my honey's house... But have you ever been to that awkward moment when it won't show up the time you need it the most? It was also the moment when we had to use our resourcefulness and creativity. Good thing my boyfriend found this bottle of powdered turmeric (Luyang Dilaw) sitting over their fridge. He said turmeric is good for hair coloring, so why not try it on my tassel earrings?

D.I.Y. Project: Yellow Dye
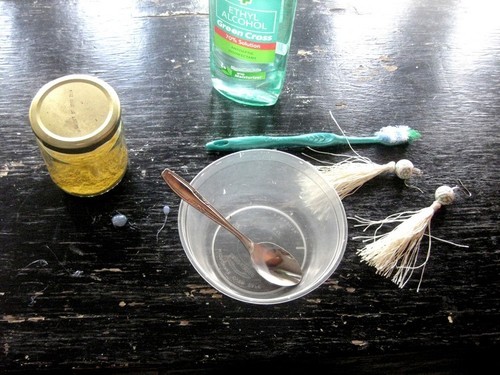
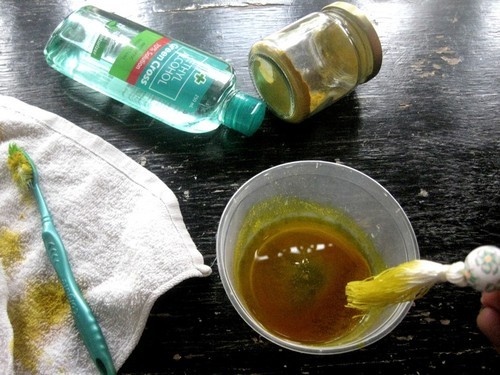
Materials: A plastic bowl, powdered turmeric, alcohol and something to you can use for stirring (like an old toothbrush)

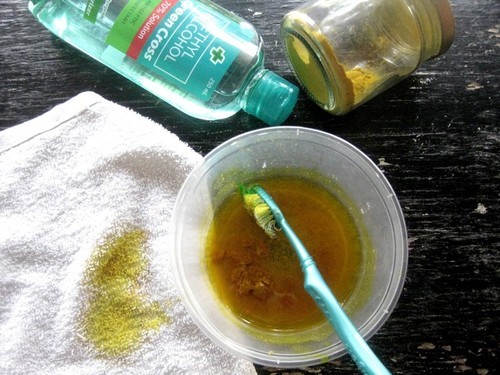
Instruction: Simply mix a spoonful of powdered turmeric with a little alcohol. Just make a good estimate of the amount. the less alcohol, the darker the yellow. Test the dye on a piece of fabric first.
Done! We dipped the bottom part of my tassel earrings to make 'em look ombre-fied! Please be aware that the turmeric-alcohol mixture runs high upward on the fabric so dipping only the bottom-most part can color the whole tassel earring. We had to be careful...
Now I'm ready to rock with my new tassel earrings!

Sunday, August 12, 2012

Not-So-Ombre Hair

We all know that to be successful in business you have to fail lots of times... Same is true with hair dyeing at home! Haha... since I opt for home treatments it was trial and error. And my hair is so black and thick that even coloring it with blonde colors won't help. I was dyeing my hair like 3 times already but still can't get this ombre (gradient hair color) that I want:


So I decided to dye it again. This time with hair bleach! I was mad already! LOL!

I really thought it would even add an iota of color but it turned out to be...

 
T_T Epic failure! Hah! Better luck next time... I know this costs me even more than just going straight to the salon but, that's just me... I thirst for knowledge, hence I as long as it's doable by my own hand, I do it. I'll get to save lots of cash anyway when I have mastered the art of hair coloring. :) For now, it's time to mull... I had to wear wayfarer shades so that I can cover my teary eyes... Oh cuh-rap! Haha. We're not yet over... thick hair!

Monday, August 6, 2012

D.I.Y. Project: Bottle Cap Ring

Once again, I was lost in our dark and dusty storage room only to find something that would make my idea bulb go "ding!" ...Or was it "ting!?"... or "ching!?"... Well anyway, what I've found is a bottle cap!

Seriously, Kim? A bottle cap?

Okay, I may sound like Spongebob here finding an empty television box, but no, it really sparked up an idea of something wearable -or tangible, at least. And what else rhymes better with idea sounds like ding & ting than the word RING!

D.I.Y. Project: Bottle Cap Ring

Materials:
Bottle Crown Cap
Large Button (I got this from an old blouse)
Plain Ring
Colored Nail Polish
Clear Nail Polish
Hot Glue
Oh, the plain rings? I got a bunch of them from Villalobos, Quiapo a couple of weeks ago, one plastic pouch of it costs around P60. (USD $1.43), though there are smaller containers available at other stores for less than P20 (USD $0.48). For sure, I'll be making lots of D.I.Y. rings from these!

So here's how to do our bottle cap ring:

1.) Paint the whole bottle cap with 2 coats of colored nail polish. Let it dry completely.

2.) Then apply 2 coats of clear nail polish. Let it dry.

3.) Glue the button into the cap.

4.) And finally, glue the plain ring on the flat side of the bottle cap.

Tada!!! Here's our finished product... Cute, isn't it?
...And guess what, I found more bottle caps after going back to that sooty storage room! It's going to be a bottle cap ring galore!
So next time you found a bottle cap, think twice before sending it to the junk shop. New ideas might just suddenly spark! DING! ^_^

Sunday, August 5, 2012

D.I.Y. Project: Washer Necklace

What would you do when you're at home, in the mood to make a D.I.Y., but feel like a couch potato to get out and buy some craft supplies? While some may just sleep, you will never go wrong with searching for hardware materials found at your storage room. And no, we're not going to fasten nuts and bolts here, as hardware supplies are not only good for house repairs, but also great for accessory-making! One designer who does this is Anni Albers. She can transform metalware to beautiful works of art. And one of her creations is an elegant necklace made from washers which sells for $14 (Php585). Too pricy you think? That's the price you pay for uniqueness. But if you still think that it's too expensive for a designer stuff, I'm going to show you a much affordable version that looks exactly the same. :)

D.I.Y. Project: Anni Albers Washer Necklace
Estimated Budget: P30 (USD 70cents)

Materials Used:
1.5 yard ribbon
22 pcs. metal washers (2pcs. small; 8pcs. medium; 12pcs. large)

Here's how to do it:

1.) Thread the first (the smallest) washer 6 to 7 inches from the end of the ribbon.

2.) Thread the second washer.

3.) Thread it back through the first washer and pull tightly.

4.)Thread it back through the second washer.

Got it?

5.) Repeat steps 2 - 4 for the next washers. Overlap one after the other.

Here's the format:
SMALL -MEDIUM - MEDIUM - MEDIUM - MEDIUM -LARGE - LARGE -LARGE -LARGE -LARGE -LARGE -LARGE - LARGE -LARGE -LARGE -LARGE -LARGE -MEDIUM - MEDIUM - MEDIUM - MEDIUM - SMALL

6.) Once you're done, leave another 6 - 7 inches of ribbon after the last washer. Then tie the two ends together. Optional: You may use a hot glue to secure.

And FINISHED! This is the final product:
   
Cheap yet elegant! And I think I'm going to overuse this!

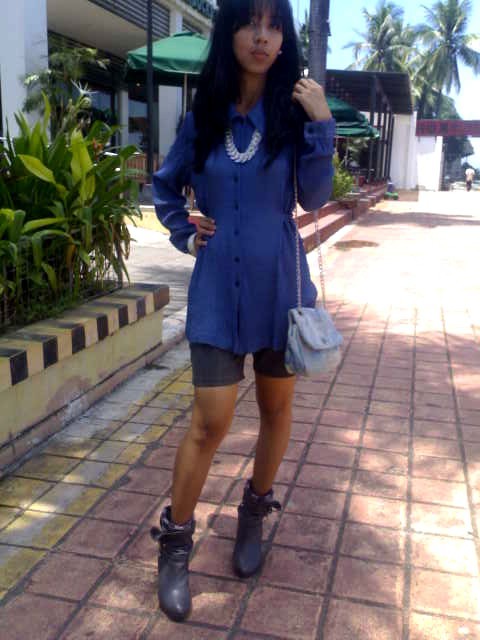
Outfit: Our D.I.Y. Washer Necklace, Blue Long Button Down, Cream Bangle, Denim Bag, Gray Shorts, Gray Boots
              Now can I call myself an industrious couch potato? :)